- Home
- Community Blog
- How to Properly Tie a Jiu-Jitsu Belt

How to Properly Tie a Jiu-Jitsu Belt
A jiu-jitsu belt serves two essential functions. First, it identifies your skill level or rank. Depending on the color of your belt, you’re either a beginner, an advanced student, or studying at one of the highest levels.
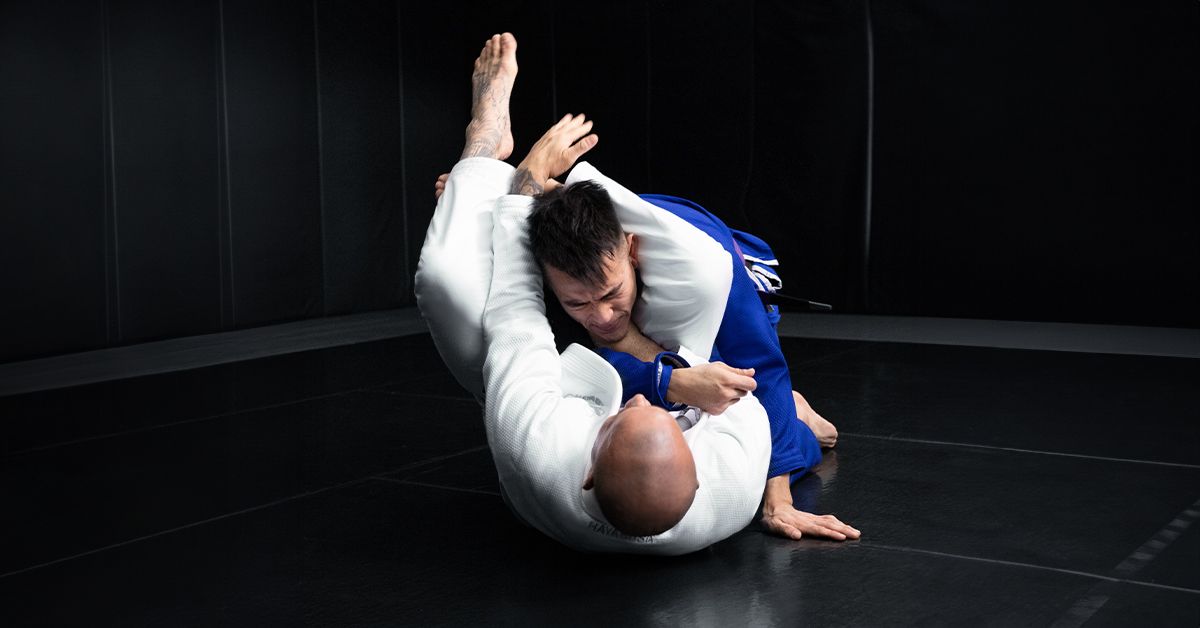
And second to Brazilian jiu-jitsu (BJJ) belt ranks, it is also an important part of your uniform. A jiu-jitsu belt keeps your uniform in place so it moves with you through all the grappling and complicated maneuvering without coming undone or restricting your mobility.
In a competition, you only have 20 seconds to retie your belt if it comes undone—requiring a quick but effective and, most likely, tighter knot. That’s why tying it properly to begin with is so important.
Unsure how to tie a gi belt? Keep reading to learn the most common jiu-jitsu gi knots, how the belt ranking system works, and what kind of gear you need to get started.


Standard or Basic Knot
When practicing jiu-jitsu, you’ll need a BJJ gi uniform. Your gym may provide one, or you can get a quality jiu-jitsu gi from Hayabusa.
Your instructor will often be the one to teach you how to tie a gi belt. Usually, the first method you’ll learn is called the Standard Knot.
Steps for Tying a Gi Belt Standard Knot
To tie a standard jiu-jitsu gi knot, follow these steps:
- Step 1 – Begin by locating the middle point of the belt. This is the point at which the belt is divided in half. If you let it dangle from your finger at that point, both the right end and left end should fall to the same length.
- Step 2 – Once you’ve located the middle point, place it over your belly button. Then, pull the belt ends around your body—crossing them behind your back—until they meet again in the front.
- Step 3 – Tie the tails together as you would with your shoelaces—with an X-shaped overhand knot. Cross both tails and then, thread the top tail behind both “layers” of the belt and pull up.
- Step 4 – Lastly, make another X shape by bringing the top tail over the bottom tail. You’ll see you’ve made a hole. Bring the top tail up through where they cross to finish the second overhand.
- Step 5 – Pull it snug to secure. Those familiar with tying a square knot or granny knot should find this method to be extremely similar.
Relson Gracie Knot
The Gracie family is recognized for having first developed Brazilian jiu-jitsu, so it’s no surprise that some family members have developed their own knot styles.
The Relson Gracie Knot is similar to the standard method described above, with the difference being that it doesn’t thread one tail under the belt’s midpoint when tying the initial overhand.


Steps for Tying a Relson Gracie Knot
A Relson Gracie Knot is effectively a “reverse” square knot, with the left side on top for the first overhand. Then, the right side’s tail is on top for the second. As with the Standard Knot, it’s tied after crossing the belt behind your back.
Here’s how to tie it:
- Step 1 – With the midpoint of the belt aligned with your belly button, cross both tails around your back and bring them to the front.
- Step 2 – Take the left tail and cross it over the right end.
- Step 3 – Thread the top tail (originally, the left side’s tail) up through the hole you created and pull tight to create the first overhand.
- Step 4 – Cross the tails again, this time with the right side on top—note the same tail is on top for both overhangs.
- Step 5 – Again, thread the top tail up through the hole you created and pull tight to create the first overhand.
“Hollywood” Knot
Some fighters preferred how their belt looked when it didn't cross over behind their back. Thus, the “Hollywood” Knot was born.
This method involves wrapping the belt around itself (twice) so it remains flat all the way around your body.
To tie a “Hollywood” Knot, follow the steps:
- Step 1 – Start by placing one tail of the belt at the side of your waist, and wrap the long end around your waist twice until you’re holding it in front of your belly button.
- Step 2 – Take the long end of the belt and feed it up underneath the lengths already wrapped around your waist.
- Step 3 – Pass the long end of the belt through the hole you’ve created, keeping it somewhat loose.
- Step 4 – Pull the wrapped tail down from underneath the belt and let it hang. Both tails should now be angled down and to the same side.
- Step 5 – Taking the first tail, lift it up and feed it down through the loop made in Step 2.
- Step 6 – Pull tight. The knot should resemble a fortune cookie shape when finished.
What Is the BJJ Belt System?
As mentioned, there are different belt levels in jiu-jitsu reflected by different colors. Each identifies how far you are in your training. Jiu-jitsu belts are ranked as follows:
White Belt
The white belt is what everyone starts with as a jiu-jitsu student. It signifies starting at the beginning with a commitment to mastering the jiu-jitsu moves and techniques learned through the other levels.
Blue Belt
Moving into the intermediate level of jiu-jitsu, the blue belt represents at least two years of study completed at the white belt status. Additionally, to receive this belt, you must be at least 16 years of age.
Purple Belt
As you move into the advanced stage of your training, the purple belt reflects your mastery of jiu-jitsu skills and upholding excellent technique when on the mat.
Brown Belt
Brown belt fighters are considered expert level who are able to perform complicated techniques and skills. You must train as a brown belt for at least one year before achieving the next belt rank.
Black Belt
The most advanced status of the jiu-jitsu belt ranks is identified by the black belt. Though jiu-jitsu involves constantly learning and improving your techniques and skills, a black belt is the highest ranking you can achieve before becoming a master.
The BJJ belt ranks system serves as motivation for fighters as they progress. There is always room for advancement, and there is pride reflected by the color you wear.
Is Jiu-Jitsu the Best Martial Arts for Me?
Martial arts is the ultimate self-defense solution, with each discipline bringing a different element to the table. In addition to jiu-jitsu, boxing, karate, and muay thai top the list of most popular.
Boxing is often the chosen martial art since it teaches you how to effectively throw and defend punches, which is helpful in a street fight. However, jiu-jitsu teaches you how to use the whole body when on the ground. Its focus is on neutralizing your opponent and can be helpful when up against an opponent bigger than you.
With this type of martial arts, there is gi jiu-jitsu (which requires wearing the traditional uniform) and no gi jiu-jitsu (which only requires shorts and rash guards). No martial arts is considered better than the other; all of them have their own advantages.
Regardless of which area of martial arts you choose, or, if you decide to learn more than one, every discipline teaches you how to harness your physical strength and mental toughness through exceptional balance, power, agility, and speed.
What Jiu-Jitsu Gear Is Needed to Get Started?
Both in practice and in competition, wearing the traditional uniform is expected and learning how to tie a gi belt is key.
Hayabusa Jiu-Jitsu Gis are IBJJF-compliant as you prepare for your training. The uniform is lightweight, breathable, and designed for unrestricted mobility on the mat. And, though soft to the touch, the material is strong enough to avoid rips and tears as you grapple.
Dressing the part is an important part of practicing martial arts and is a requirement when competing. Plus, slipping on a jiu-jitsu gi puts you in a fighter’s frame of mind preparing you to be present on the mat. To ensure the optimal fit, the Hayabusa jiu-jitsu gi size chart will help guide your way.


For All Your BJJ Gear, Choose Hayabusa
Now you know how to tie a gi belt properly and have a few different knots to choose from. Learning martial arts for self defense is one of the most impactful things you can do. Just make sure you’re equipped with quality gear to support your journey.
Hayabusa has the best BJJ gis, belts, gloves, and headwear you need to protect yourself and perform your best every time you hit the mat.
Sources:
Jiu Jitsu Brotherhood. The Gracies - First Family of Jiu Jitsu.
NetKnots. Overhand Knot.
Relson Gracie Jiu-Jitsu Team HK. Relson Gracie Belt Tie.
Rener Gracie. Rener Gracie on How to Tie the Belt.
